
- Catalogs
- PROVETSCAN
- ProVetScan AS

ProVetScan AS
ProVetScan AS
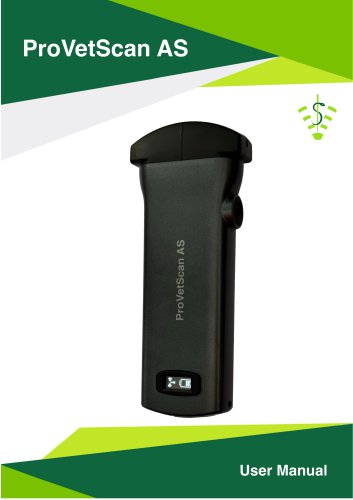
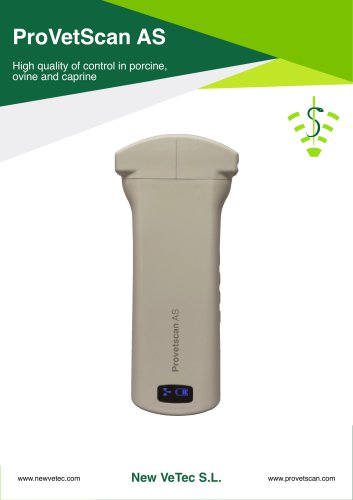
ProVetScan AS is a wireless ultrasound probe designed for reproductive diagnosis in veterinary applications. It integrates an image processor, power supply, and Wi-Fi module, connecting to a tablet or smartphone via the iLUS app.
Features
- Display: Compatible with iOS and Android devices
- Scanning: Linear Convex
- Probe Frequency: 3.5 / 5 MHz
- Depth: 90 - 180 mm
- Display Mode: B Mode with 256 grayscale levels
- Battery Life: 5 hours
- Dimensions: 160mm x 50mm x 25mm
- Weight: 300 g
Starting Instructions
Unboxing: Ensure all components are present and undamaged. Includes probe, charger, USB cable, wrist strap, carrying case, and manual.
App Installation: Download the iLUS app from the App Store or Google Play.
Connecting the Probe: Turn on the probe, connect via Wi-Fi using the probe's SSID and serial number as the password.
App Features
Animal Selection: Choose the animal type for specific functions.
Basic Settings: Adjust image settings such as gain and depth. Use the FREEZE/UNFREEZE button for image control.
Advanced Settings: Includes focus position, dynamic range, harmonics, and TGC control.
Scanning Modes: Gestation mode for pregnancy detection, back fat measurement, and loin diameter measurement.
Image and Video Storage: Save images and videos directly to the device.
Maintenance
Charging: Use a wireless charger with a 2A and 5V output. Charging takes up to 5 hours.
Cleaning: Clean with a cloth or wet wipes. The probe is IP68 rated but should not be submerged in water.
Storage: Store between 10°C and 40°C. Keep devices fully charged if not used for extended periods.
Environmental and Compliance
Dispose of the product according to local regulations. The product complies with EU directives on radio equipment, electromagnetic compatibility, and RoHS.
Declaration of Conformity
The ProVetScan AS meets the requirements of Directive 2014/53/EU, Directive 2014/30/EU, and Directive 2011/65/EU, ensuring compliance with applicable standards.
Catalog excerpts
User Manual
Open the catalog to page 1
Provetscan AS wireless probes are the latest generation of ultrasound equipments for reproductive diagnosis. Unlike traditional veterinary ultrasound scanners, with a cable connected to the probe, the Provetscan AS is wireless. The Provetscan AS probe integrates the ultrasound image processor, power supply and a wifi signal module to connect to the main unit. This has been replaced by a tablet or smartphone. The probe works as a 2.4 and 5 GHz Wi-Fi access point and displays the image via the iLUS app. This manual wants to provide an overview and should be read carefully before starting to use...
Open the catalog to page 2
Display: iOS or Android mobile device Scanning: Linear Convex Probe: 3.5 /5 MHz Translator Depth: 90- 180 mm Display Mode: B Mode Grayscale: 256 levels Battery working time: 5 hours Size: 160mm x 50mm x 25mm Weight: 300 g
Open the catalog to page 3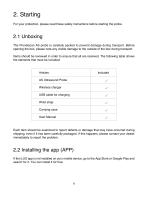
For your protection, please read these safety instructions before starting the probe. The Provetscan AS probe is carefully packed to prevent damage during transport. Before opening the box, please note any visible damage to the outside of the box during transport. Items should be reviewed in order to ensure that all are received. The following table shows the elements that must be included: Each item should be examined to report defects or damage that may have occurred during shipping, even if it has been carefully packaged. If this happens, please contact your dealer immediately to report the...
Open the catalog to page 4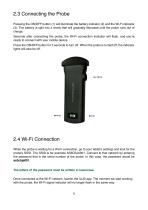
2.3 Connecting the Probe Pressing the ON/OFF button (1) will illuminate the battery indicator (2) and the Wi-Fi indicator (3). The battery is split into 4 levels that will gradually decrease until the probe runs out of charge. Seconds after connecting the probe, the Wi-Fi connection indicator will flash, and you're ready to connect with your mobile device. Press the ON/OFF button for 3 seconds to turn off. When the probe is turned off, the indicator lights will also be off. 2.4 Wi-Fi Connection When the probe is waiting for a Wi-Fi connection, go to your tablet's settings and look for the probe's...
Open the catalog to page 5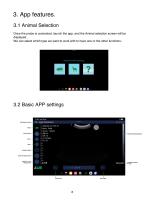
Once the probe is connected, launch the app, and the Animal selection screen will be displayed. We can select which type we want to work with to have one or the other functions: 3.2 Basic APP settings Wifi Network status—I I-Advanced Settings Button _Avalable Cineloop Frames
Open the catalog to page 6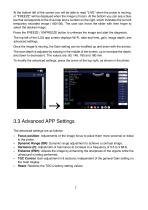
At the bottom left of the screen you will be able to read "LIVE" when the probe is moving, or "FREEZE" will be displayed when the image is frozen. At the bottom you can see a blue bar that corresponds to the cine-loop and a number on the right, which indicates the current temporary recorded image (100/100). The user can move the slider with their finger to select the desired image. Press the FREEZE / UNFREEZE button to unfreeze the image and start the diagnosis. The top left of the iLUS app screen displays Wi-Fi, date and time, gain, image depth, and advanced settings. Once the image is moving,...
Open the catalog to page 7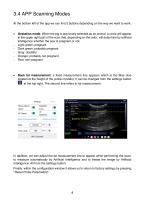
At the bottom left of the app we can find 3 buttons depending on the way we want to work: • Gestation mode: When the pig is previously selected as an animal, a circle will appear in the upper right part of the scan that, depending on the color, will determine by artificial intelligence whether the sow is pregnant or not. - Light green: pregnant - Dark green: probably pregnant - Gray: doubtful - Orange: probably not pregnant • Back fat measurement: a fixed measurement line appears which is the Bias (line located at the height of the probe crystals). It can be changed from the settings button ®...
Open the catalog to page 8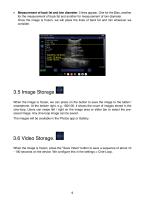
Measurement of back fat and loin diameter: 3 lines appear. One for the Bias, another for the measurement of back fat and another for measurement of loin diameter. Once the image is frozen, we will place the lines of back fat and loin wherever we consider. 3.5 Image Storage When the image is frozen, we can press on the button to save the image to the tablet / smartphone. At the bottom right, e.g. 100/100, it shows the count of images stored in the cine-loop. Users can swipe left / right on the image area or slider bar to select the presaved image. Any cine-loop image can be saved. The images will...
Open the catalog to page 9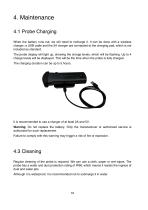
4. Maintenance 4.1 Probe Charging When the battery runs out, we will need to recharge it. It can be done with a wireless charger: a USB cable and the 2A charger are connected to the charging pad, which is not included as standard. The probe display will light up, showing the charge levels, which will be flashing. Up to 4 charge levels will be displayed. This will be the time when the probe is fully charged. The charging duration can be up to 5 hours. It is recommended to use a charger of at least 2A and 5V. Warning: Do not replace the battery. Only the manufacturer or authorized service is authorized...
Open the catalog to page 10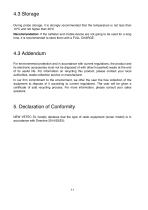
4.3 Storage During probe storage, it is strongly recommended that the temperature is not less than 10°C and not higher than 40°C Recommendation: If the catheter and mobile device are not going to be used for a long time, it is recommended to store them with a FULL CHARGE. 4.3 Addendum For environmental protection and in accordance with current regulations, the product and its electronic accessories must not be disposed of with other household waste at the end of its useful life. For information on recycling this product, please contact your local authorities, waste collection service or manufacturer....
Open the catalog to page 11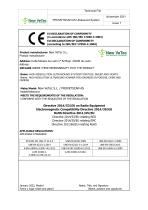
January 2022, Madrid Fecha y lugar (Date and place) Name, Title, and Signature (Name, position and signature)
Open the catalog to page 12
New Vetec, S.L. CIF: B42834465 Calle Moisés de León, 52 Bajo - León (Spain) Tel. +34 633 913 164 e-mail: [email protected] www.newvetec.com www.provetscan.com
Open the catalog to page 13All PROVETSCAN catalogs and technical brochures
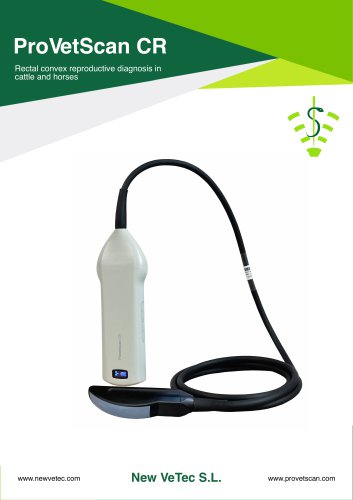 ProVetScan CR
2 Pages
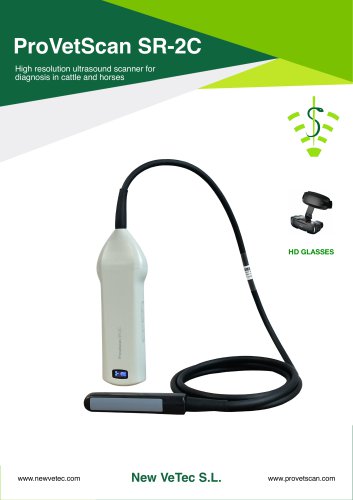 ProVetScan SR-2C
2 Pages
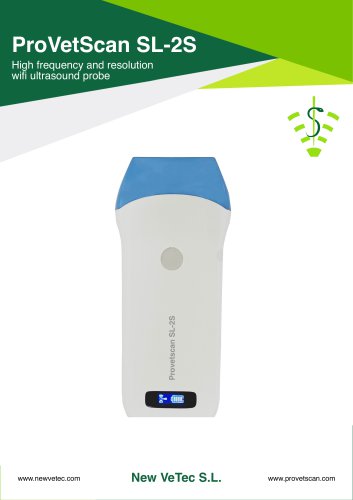 ProVetScan SL-2S
2 Pages
 ProVetScan AS
2 Pages
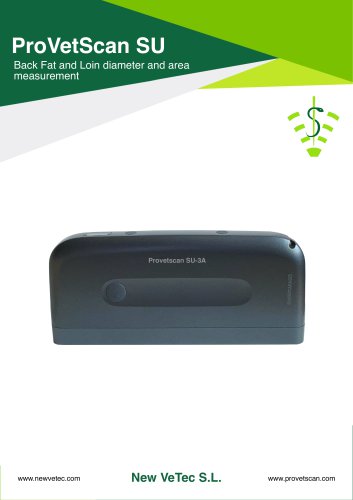 ProVetScan SU-3A
2 Pages
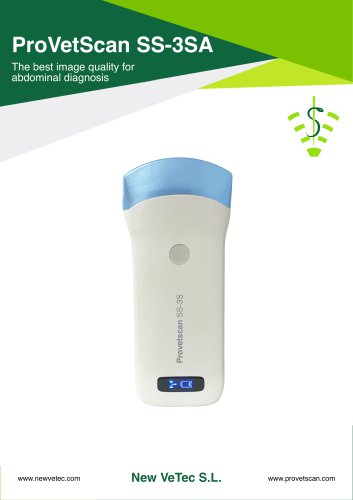 ProVetScan SS-3S
2 Pages
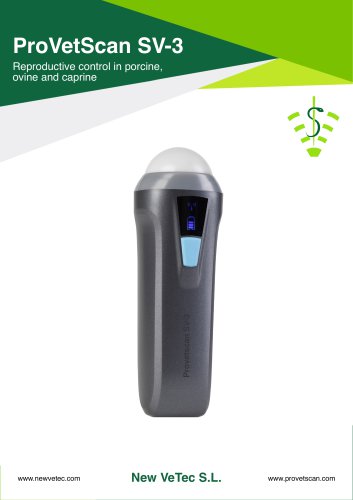 ProVetScan SV-3
2 Pages
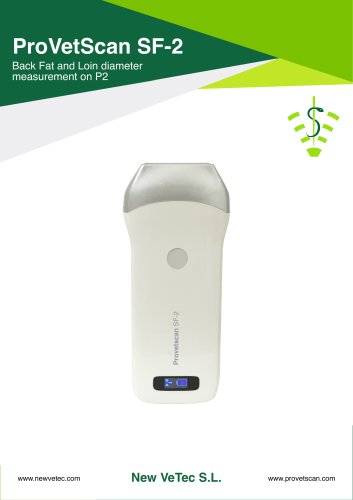 ProVetScan SF-2
2 Pages
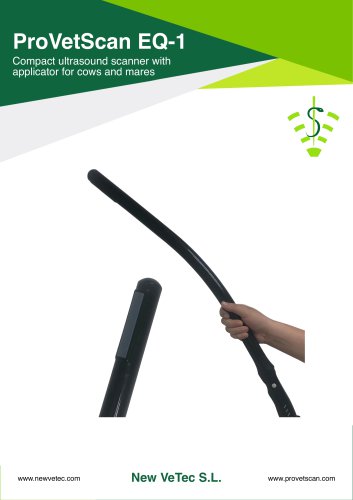 ProVetScan EQ-1
2 Pages
- Veterinary ultrasound system
- Portable veterinary ultrasound system
- Large animal veterinary ultrasound system
- Battery powered veterinary ultrasound system
- Farm animal veterinary ultrasound system
- Reproductive imaging veterinary ultrasound system
- Linear veterinary ultrasound system
- Abdominal imaging veterinary ultrasound system
- Cattle veterinary ultrasound system
- Convex array veterinary ultrasound system
- Wireless veterinary ultrasound system
- Equine ultrasound scanner
- Sheep veterinary ultrasound system
- Swine veterinary ultrasound system
- Rectal veterinary ultrasound system
- Black and white veterinary ultrasound system
- Full-color veterinary ultrasound system
- Veterinary ultrasound system with touch screen
- Outdoor veterinary ultrasound system
- Goat veterinary ultrasound system